
Build Ramps for your C2 or C3 Corvette
(An excellent alternative to expensive car
hoists and car lifts)
Have you ever wished there was an easy way to get your
Corvette up in the air so you could comfortably work under it? Here is a
safe and inexpensive way to construct a set of portable ramps.
Instructions:
The ramps are indeed easy to build. Both sections are built identical. The ramps are 10'9" in length. You can construct them from 2"x10" or 2"x12". In this set I used 2"x10" and then nailed a couple of lengths of 1"x6" on each side on the bottom to give some extra lateral support. (If you use 2"x12" you will have more room to place a hydraulic jack under the frame in case you need to place jack stands under the frame). The top and bottom are 2"x10" or 12" with 2"X10" or 12" uprights on 16" centers. You will need 2 sheets of 1/2" plywood or wafer board for the sides. Rip each sheet of plywood into 3 strips 16" wide. It will take one sheet per ramp. Use 2 1/2" spiral nails or 2" drywall screws to attach the side pieces to your framework. Use 3 1/2" spiral on the actual framework. On the ends where the car comes up, attach another piece of 2" x 10" to support the planks for driving the car up on. These 2 planks only need to be about 7' long with a couple supports under them. I used a couple of rubber ramps to support the planks. With that short a length my side pipes still clear fine. You can mount a couple of permanent lights and a 110v receptacle on the inner sides of the supports if you wish. That makes it much easier than fighting power cords. If you have a good level floor they will be very stable and will support a bulldozer. I can almost sit on the floor under the car but not quite. I mark the floor with a felt marker so that each time it only takes me about 5 minutes to place them and drive the car up on them.
The ramps are indeed easy to build. Both sections are built identical. The ramps are 10'9" in length. You can construct them from 2"x10" or 2"x12". In this set I used 2"x10" and then nailed a couple of lengths of 1"x6" on each side on the bottom to give some extra lateral support. (If you use 2"x12" you will have more room to place a hydraulic jack under the frame in case you need to place jack stands under the frame). The top and bottom are 2"x10" or 12" with 2"X10" or 12" uprights on 16" centers. You will need 2 sheets of 1/2" plywood or wafer board for the sides. Rip each sheet of plywood into 3 strips 16" wide. It will take one sheet per ramp. Use 2 1/2" spiral nails or 2" drywall screws to attach the side pieces to your framework. Use 3 1/2" spiral on the actual framework. On the ends where the car comes up, attach another piece of 2" x 10" to support the planks for driving the car up on. These 2 planks only need to be about 7' long with a couple supports under them. I used a couple of rubber ramps to support the planks. With that short a length my side pipes still clear fine. You can mount a couple of permanent lights and a 110v receptacle on the inner sides of the supports if you wish. That makes it much easier than fighting power cords. If you have a good level floor they will be very stable and will support a bulldozer. I can almost sit on the floor under the car but not quite. I mark the floor with a felt marker so that each time it only takes me about 5 minutes to place them and drive the car up on them.
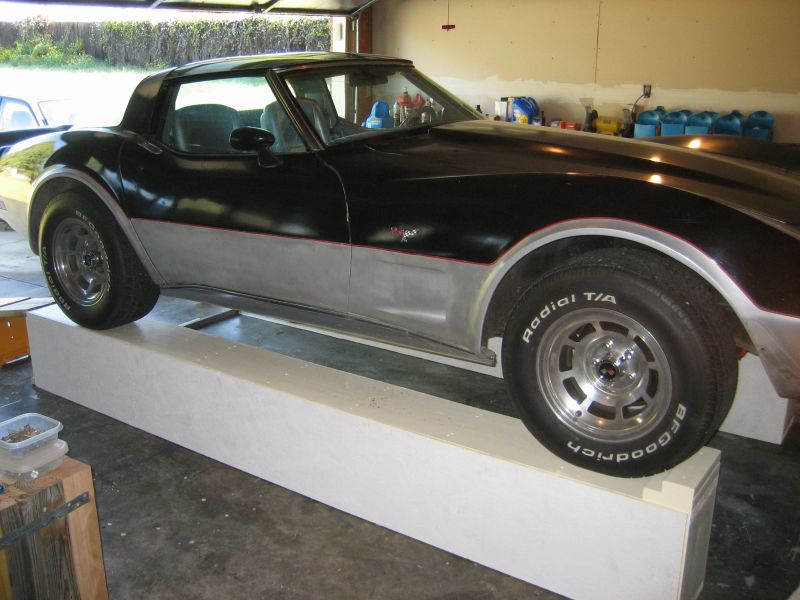
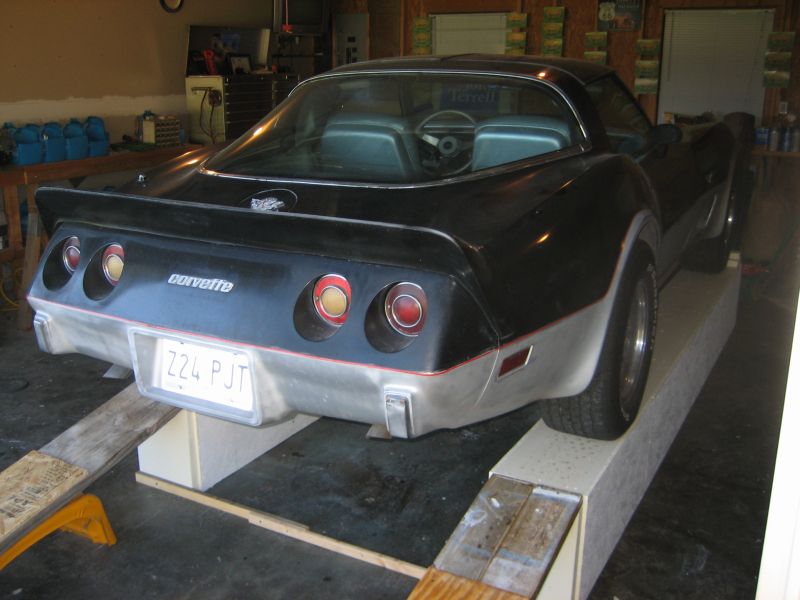
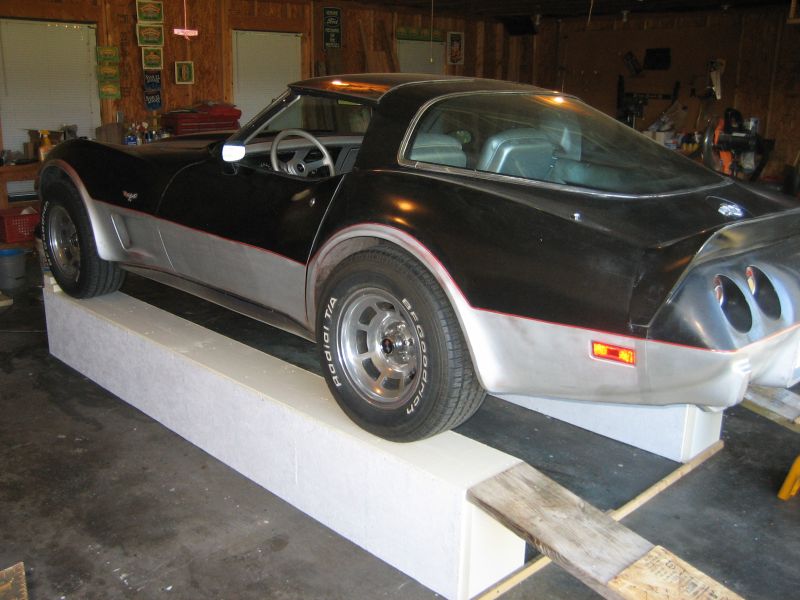
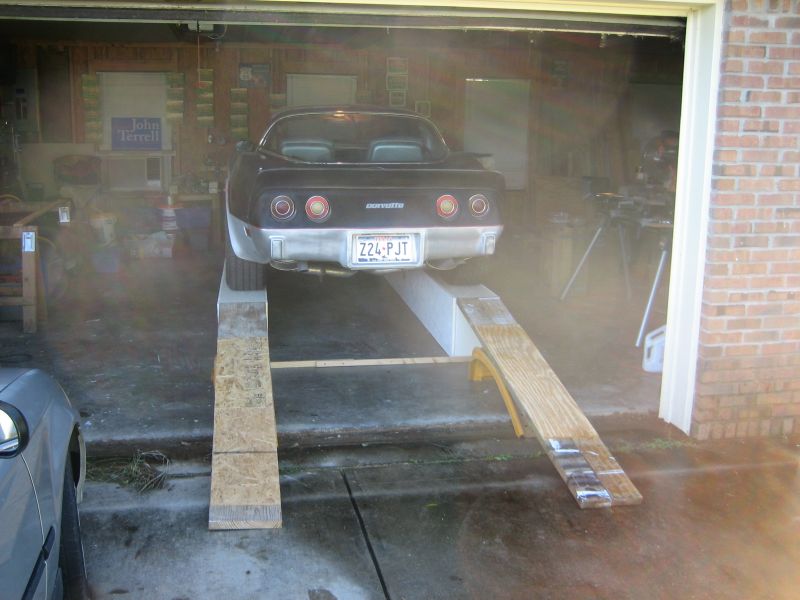
Here are some pictures of what your finished product will
resemble.
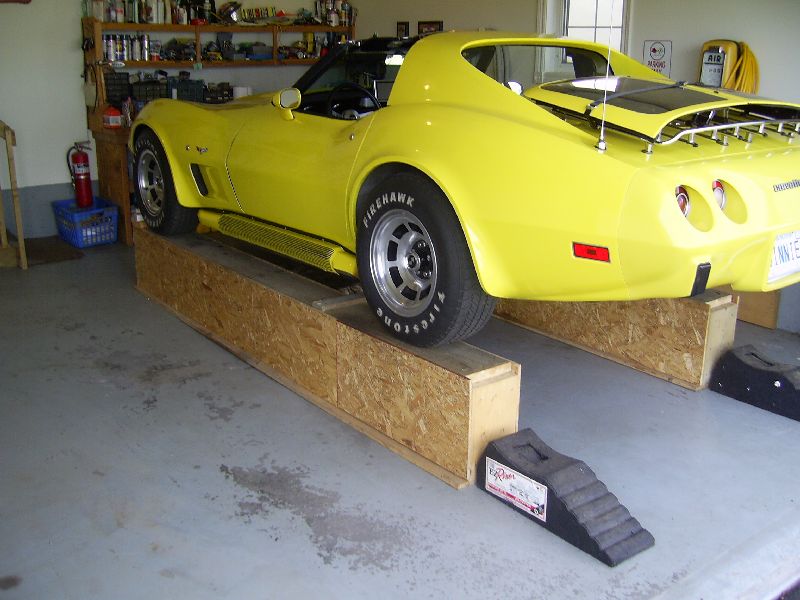
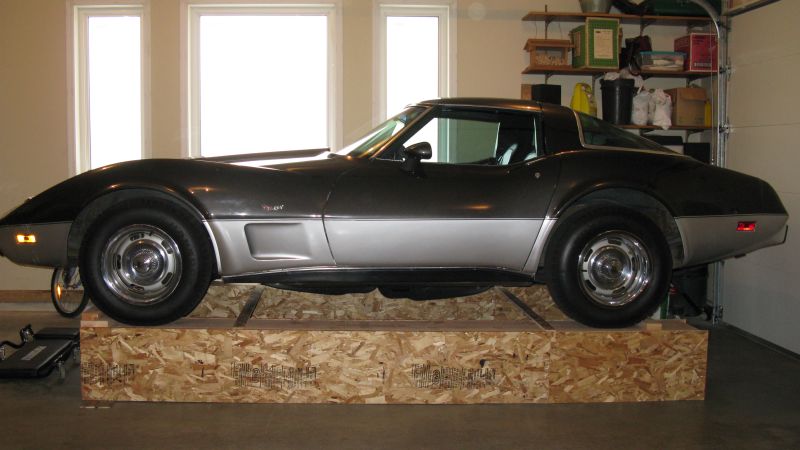
Car parked on ramps awaiting the blocks behind the rear
wheels.
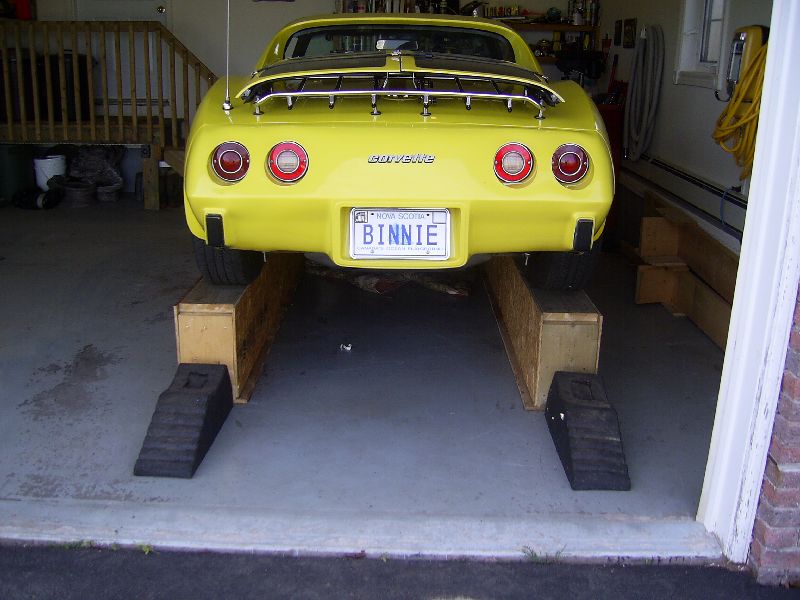
Ramps 2" wider than these will give you more room to place
jack stands.
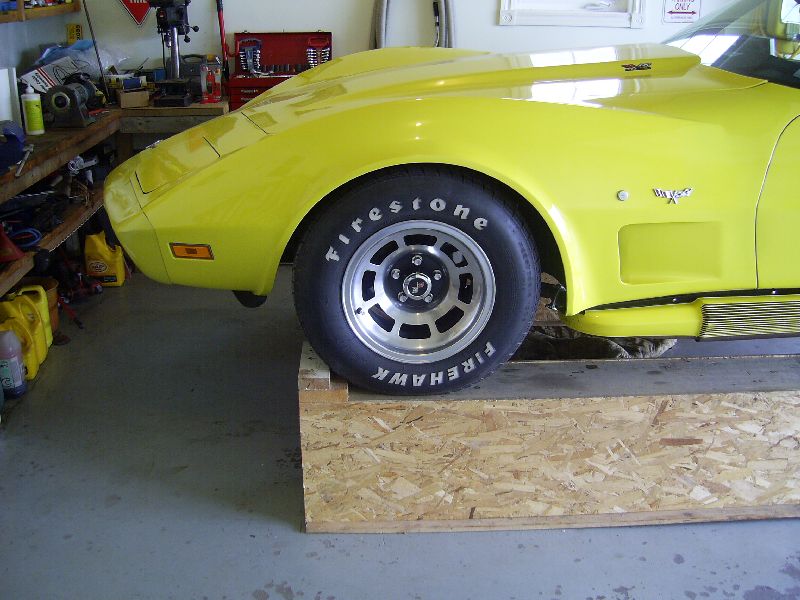
Note the blocks spiked up front for wheel stops.
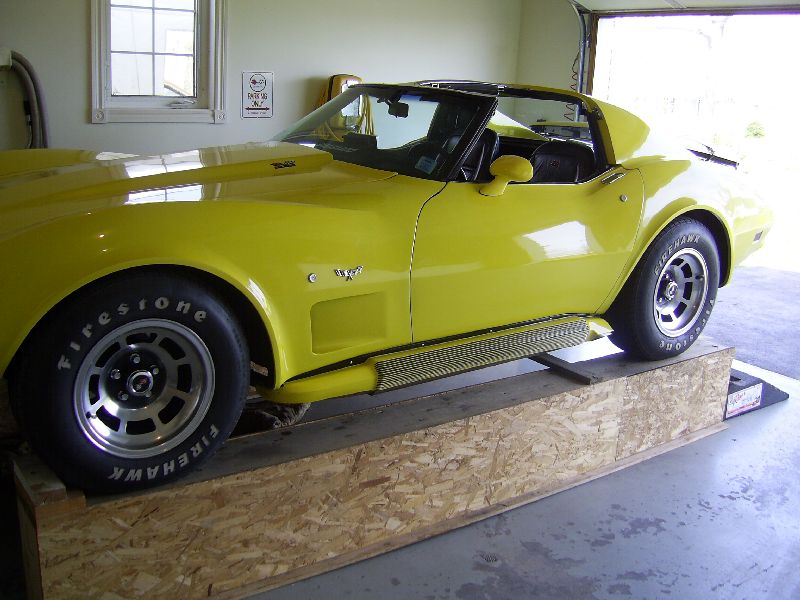
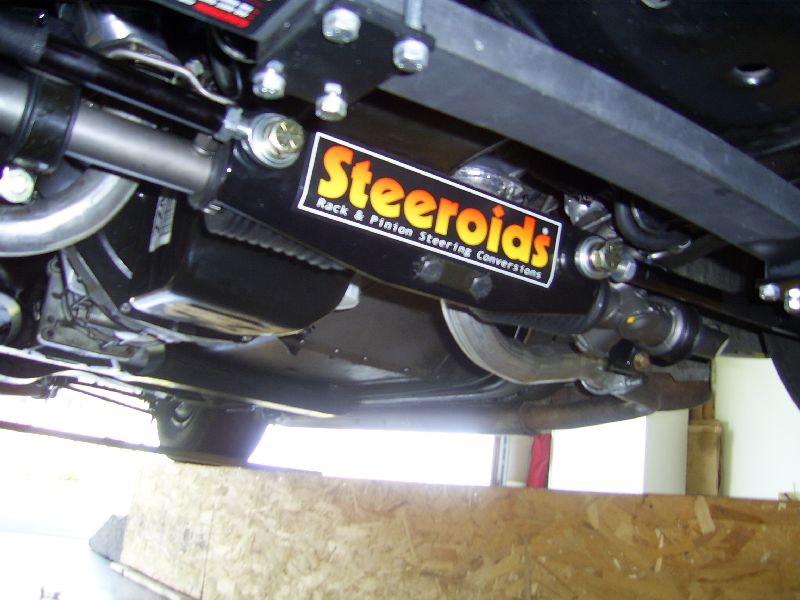
This gives you some idea of the
height you have for working.
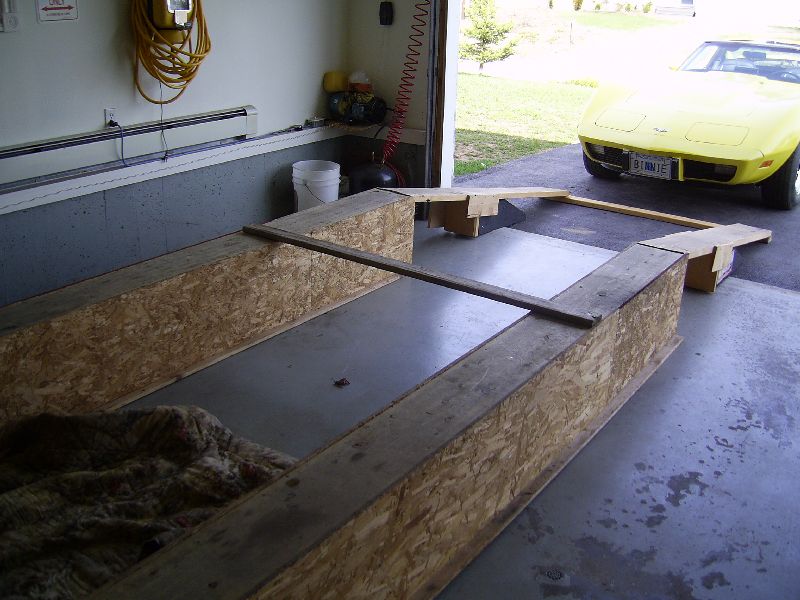
An old sleeping bag makes a nice pad for lying on when
under the car.
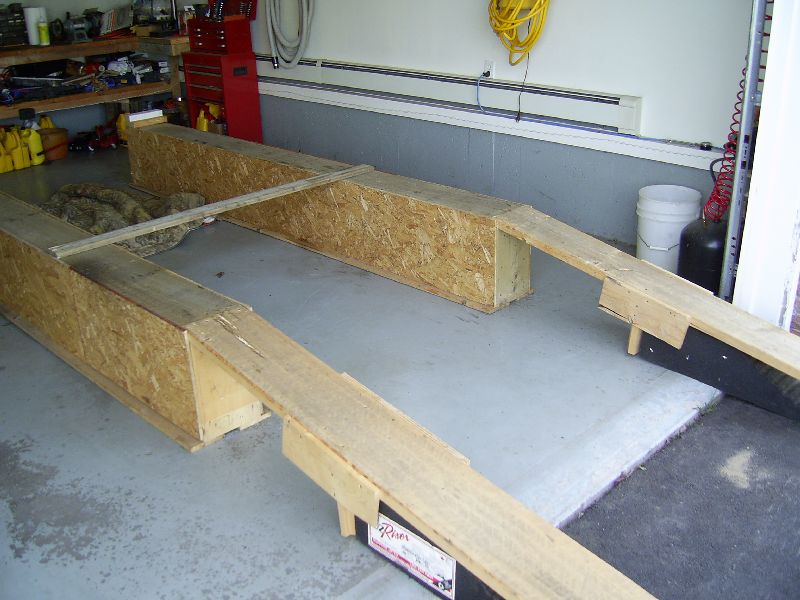
You can see the rubber pads that I use for extra support
for driving up and down.
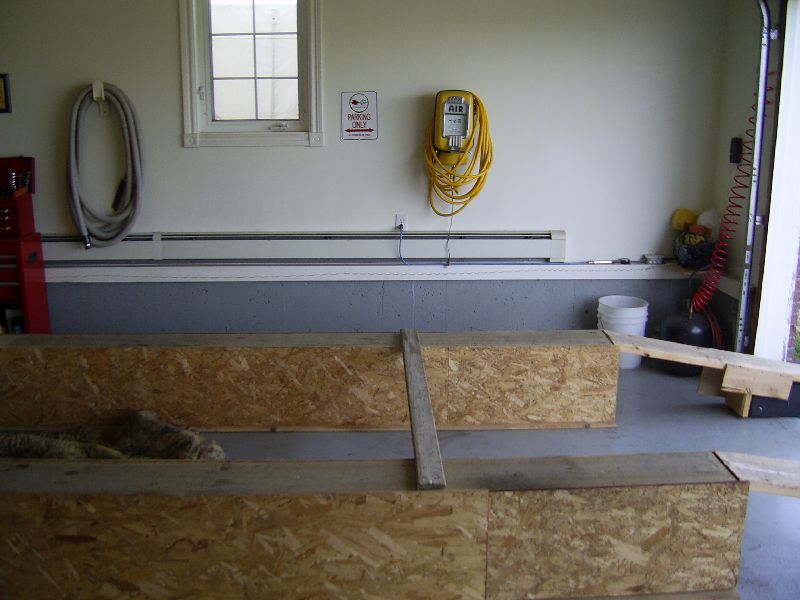
I sometimes attach a board to keep the ramps aligned when I
drive up on them.
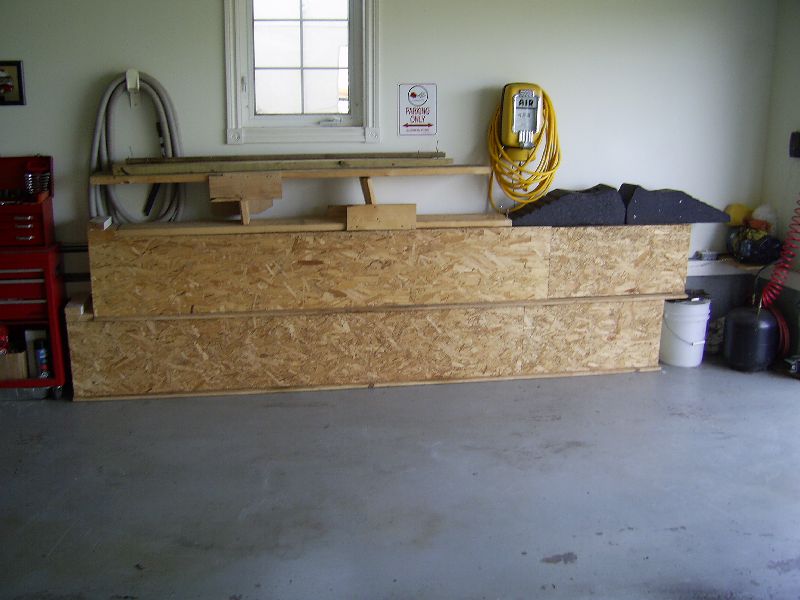
You can store the ramps along the wall of your shop when
not in use.
Glenn's ramps.
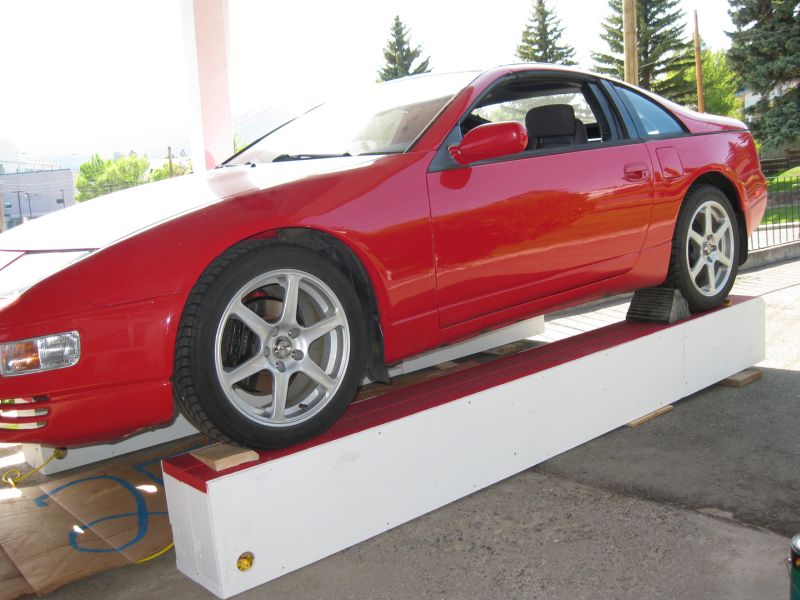
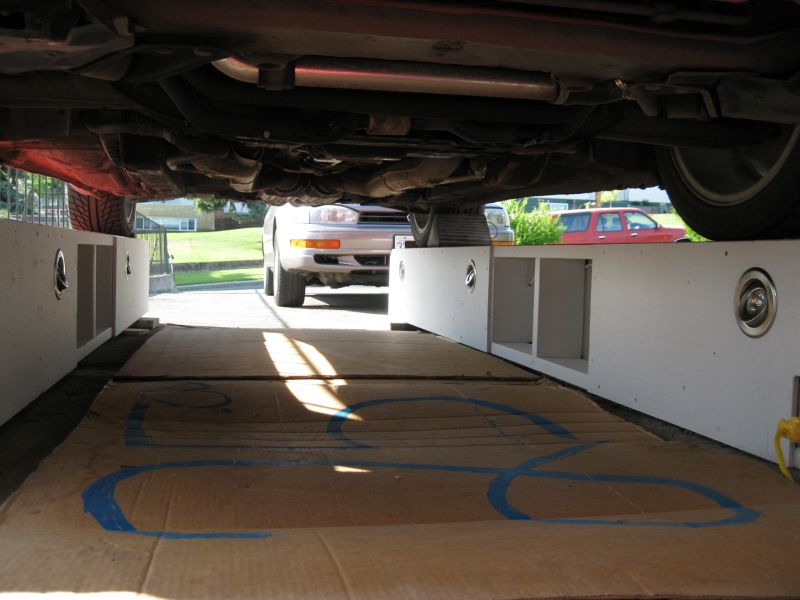
Shel Myers from British Columbia
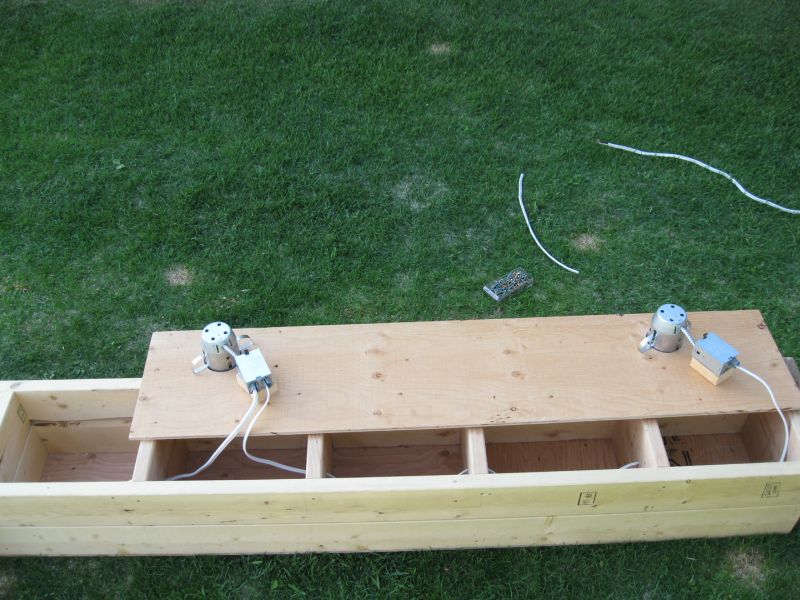
made a few modifications to better suit his particular use. The ramps have
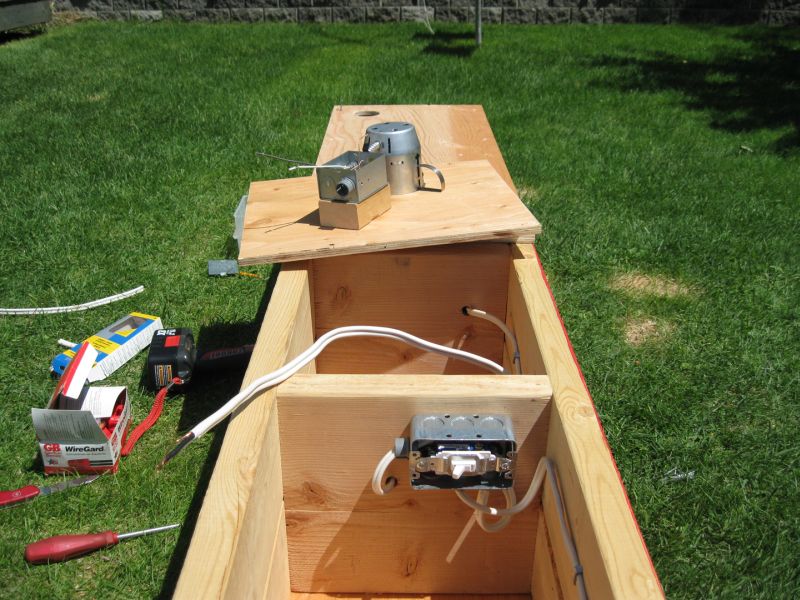
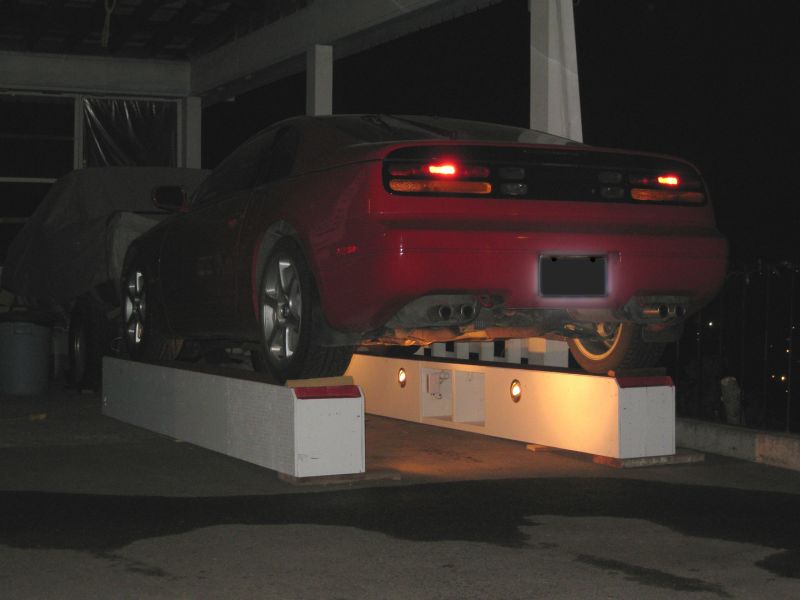
pot lights installed (three on one ramp, two on the other), which allow each
lamp to pivot and swivel in order to place light where it is needed. Each
ramp has a switch to control each set of lights. The drivers side ramp has
a built-in extension cord and power outlet so power tools can be used while
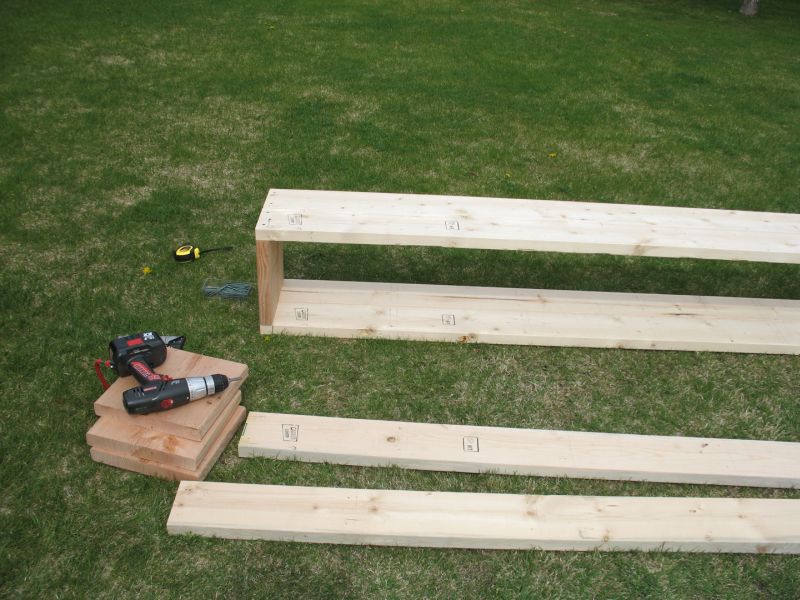
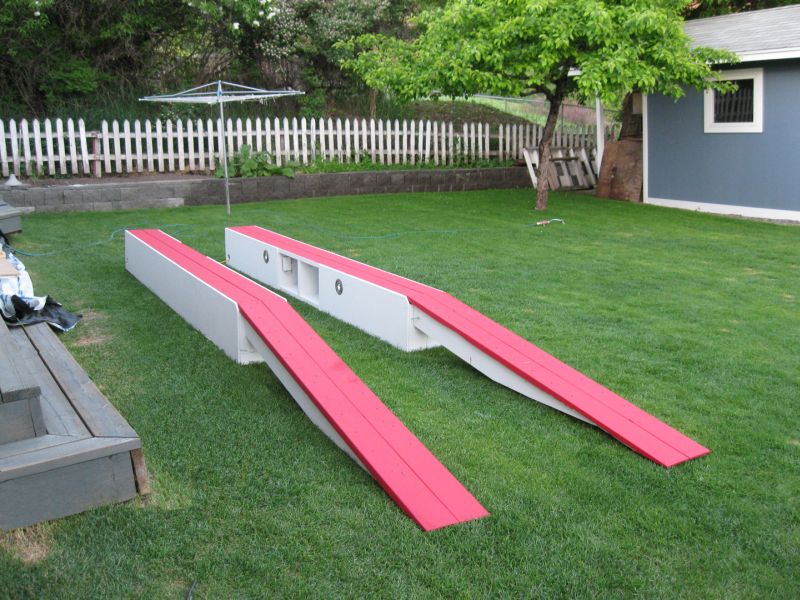
working under the vehicle. Shel also made the actual 'ramp' portions with
vertical oriented 2 x 6 in order to allow a vehicle to drive on without the need
for additional supports. Shel also decided to make his ramps a full 12" wide
using 2 x 6 lumber to do it since it was far cheaper and allows for easier
rebuilding if one section fails or is otherwise rendered unusable. Shel
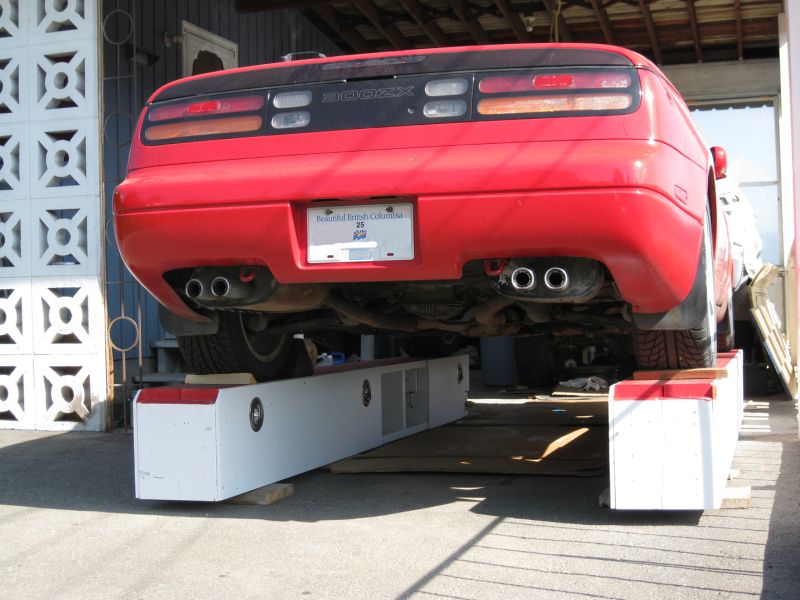
also left two openings between studs unsheeted on the inside of each ramp to
allow for tool and parts storage which proves to be very handy. View the
pictures below:
Douglas Anderson's Ramps